
VIDEO: These DIY Icebreaker Napkins Will Get Your Guests to Talk to Each Other

You know when you’re new and you don’t know what to say to people and the whole thing just feels vom.
Introducing… Talking Napkins (er, whatever you wanna call ‘em):
These little guys act as icebreakers so that you and your friends can start talking with each other a whole lot faster and get past that weird, awkward phase right away.
🗣TWO VERSIONS OF TALKING NAPKINS 🗣
There are two basic ways to make this project. One is super easy. The other is super rewarding, and the napkins will last for years to come.
First, The Rewarding Version: Embroidered Napkins:

Materials You Will Need:
Cotton napkins: You can get these at the thrift store—wash them and iron them, and you’re good to go. I prefer a solid color so that my stitches don’t need to compete with a lot of background noise.
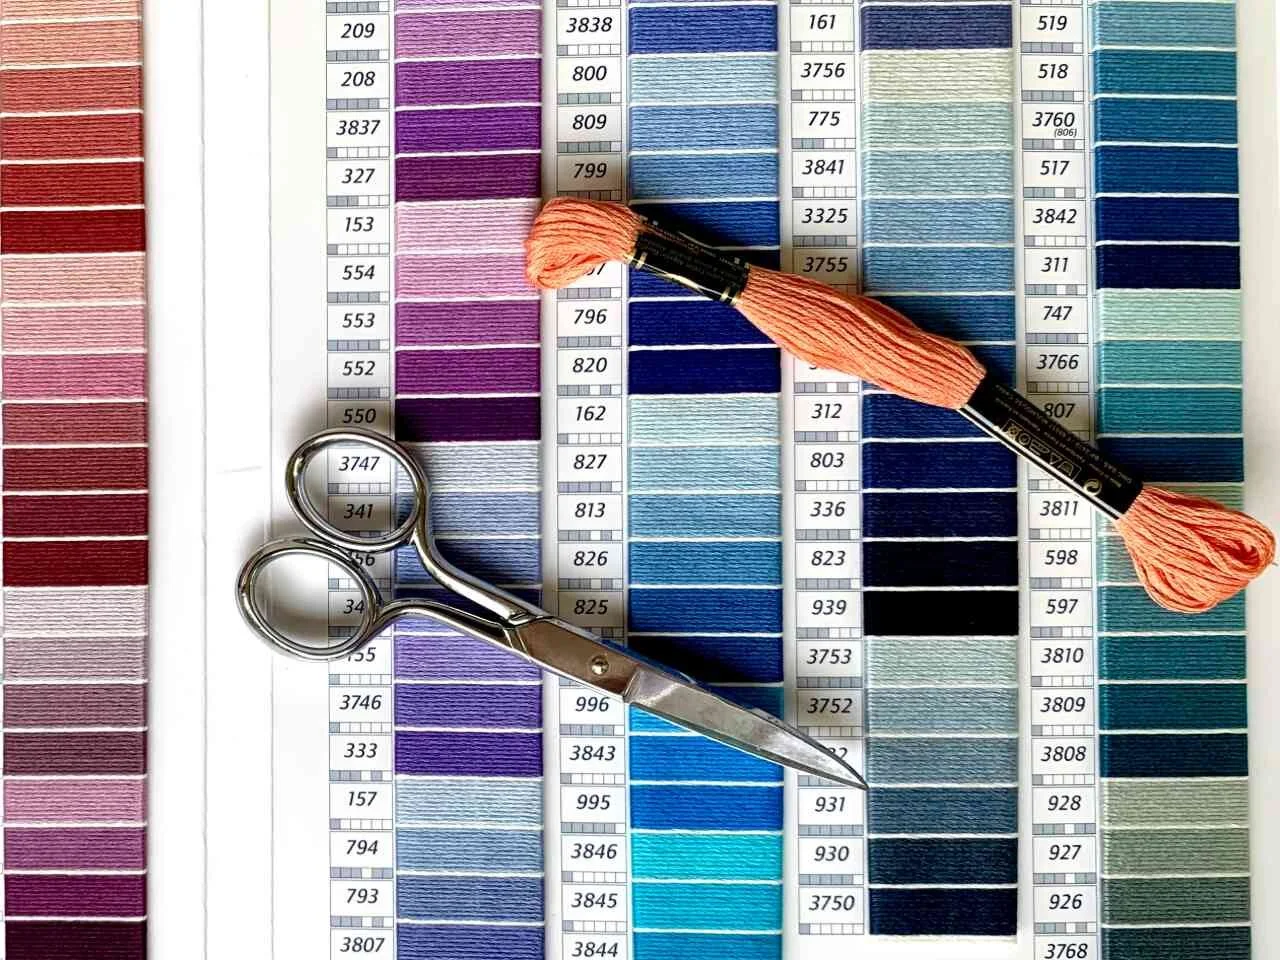
Embroidery floss: You can pick up DMC floss at Michaels, JoAnn Fabrics, or your local needlework store.
Embroidery hoop: I like using a 6-inch wooden hoop. Plastic hoops are fine, too, and you can see what size feels best for you. These are available at Michaels, JoAnn’s, or your local sewing store.
Embroidery needles: Embroidery needles are shaped specifically for embroidery projects. But you can definitely get away with other needles for this project. Just make sure they feel right in your hand. You’ll know they’re not right if a) your thread doesn’t fit through the eye of the needle b) you can’t puncture the fabric easily with the needle’s point c) you can’t pull the thread through the fabric without yanking it.
Steps to Follow:
1) Begin by writing your text onto the fabric.

I use a soft pencil and press very lightly. While pencil comes off of paper easily, it doesn’t always come off of fabric easily, so be gentle. If you prefer, you can use a washable fabric pen.
Examples of Questions to add to your Napkins:
Go Back in Time or Go Forward to the Future?
Favorite Disney Movie?
Favorite Musician?
Cake or Ice Cream?
Favorite Ice Cream?
Favorite Book?
Favorite Movie?
Trip to Paris or Tokyo?
Coolest Style Decade?
Truth or Dare?
Most embarrassing moment?
2) Attach your embroidery hoop to your fabric.

Make sure the fabric is taught over the hoop. Of course, you don’t want to tear the fabric, so be firm-but-not-too-firm, if ya know wadda mean.
For most embroidery projects, you would apply a backing at this stage. A backing is just a stiff piece of fabric that stabilizes your stitches (I use organdy cotton). However, in this project, you won’t use backing (unless you want to!) because it makes the napkin thick and unattractive.
3) Choose your colors.
There are a gazillion colors to choose from, and it is so fun to switch them up and play with them.
4) Start stitchin’
Here is an excellent video that will teach you the basics of how to embroider. Don’t get frustrated - once you practice just a little, you’ll be able to make all kinds of vvvvunderful things. If you’re confused, just look around some more on YouTube or head to your local sewing store to see if someone can give you some tips.
4) Wash your project in cold water
Wash your project in cold water to erase any pencil markings. I’ll confess, I didn’t wash mine because the pencil markings weren’t showing much. So skip this step if you want to.
5) Iron your project.
Make it look smokin’!
6) Take pictures
I’d love to see examples of your work! Send them to me here and let me know if I may feature the photos on my website and social media.
Second, The Super Easy Version:
Yeah go grab a pen.